Blockchain full nodes store a complete copy of the distributed ledger and are responsible for the reliability of the stored data. Almost full nodes help the network by accepting transactions and blocks from other full nodes, validating those transactions and blocks, and then relaying them to further full nodes. Some chains require a huge amount of storage for their full nodes, e.g. Binance Smart Chain. However, EC2 AWS instance's root volume is limited to 2 TiB by default due to MBR partition. This post resolves a problem that full nodes require more than 2 TiB of storage on EC2 AWS.
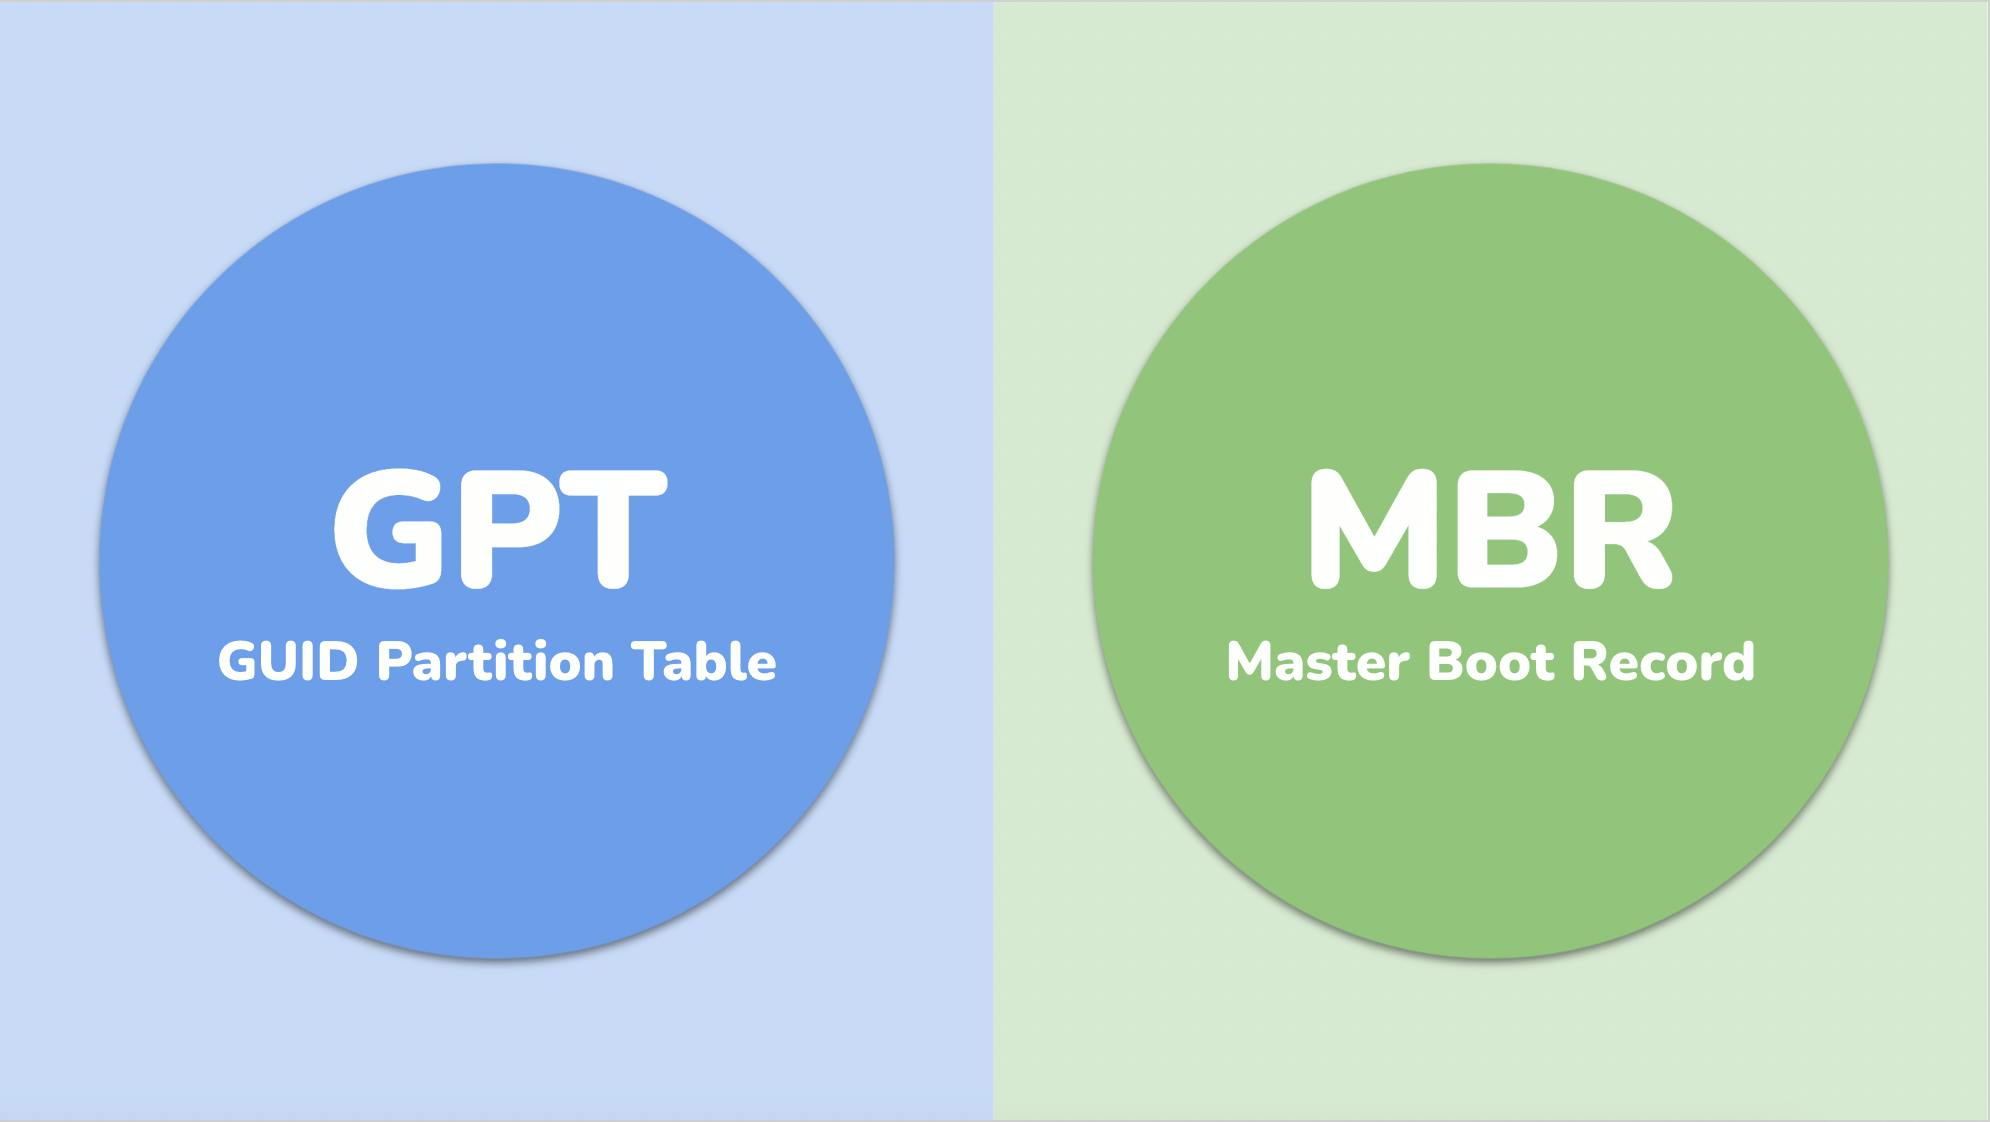
MBR vs GPT
MBR uses a 32-bit data structure to store block addresses. This means that each data block is mapped with one of 232 possible integers. The block size for MBR volumes is conventionally limited to 512 bytes. Therefore, 2 TiB is the limitation for MBR volumes.
GPT uses a 64-bit data structure to store block addresses. This means that each data block is mapped with one of 264 possible integers. The block size for GPT volumes is commonly 4096 bytes so the maximum size of GPT volume is 64 ZiB.
Reference: docs.aws.amazon.com/AWSEC2/latest/UserGuide..

Convert EC2's default MBR to GPT
Reference: aws.amazon.com/premiumsupport/knowledge-cen..
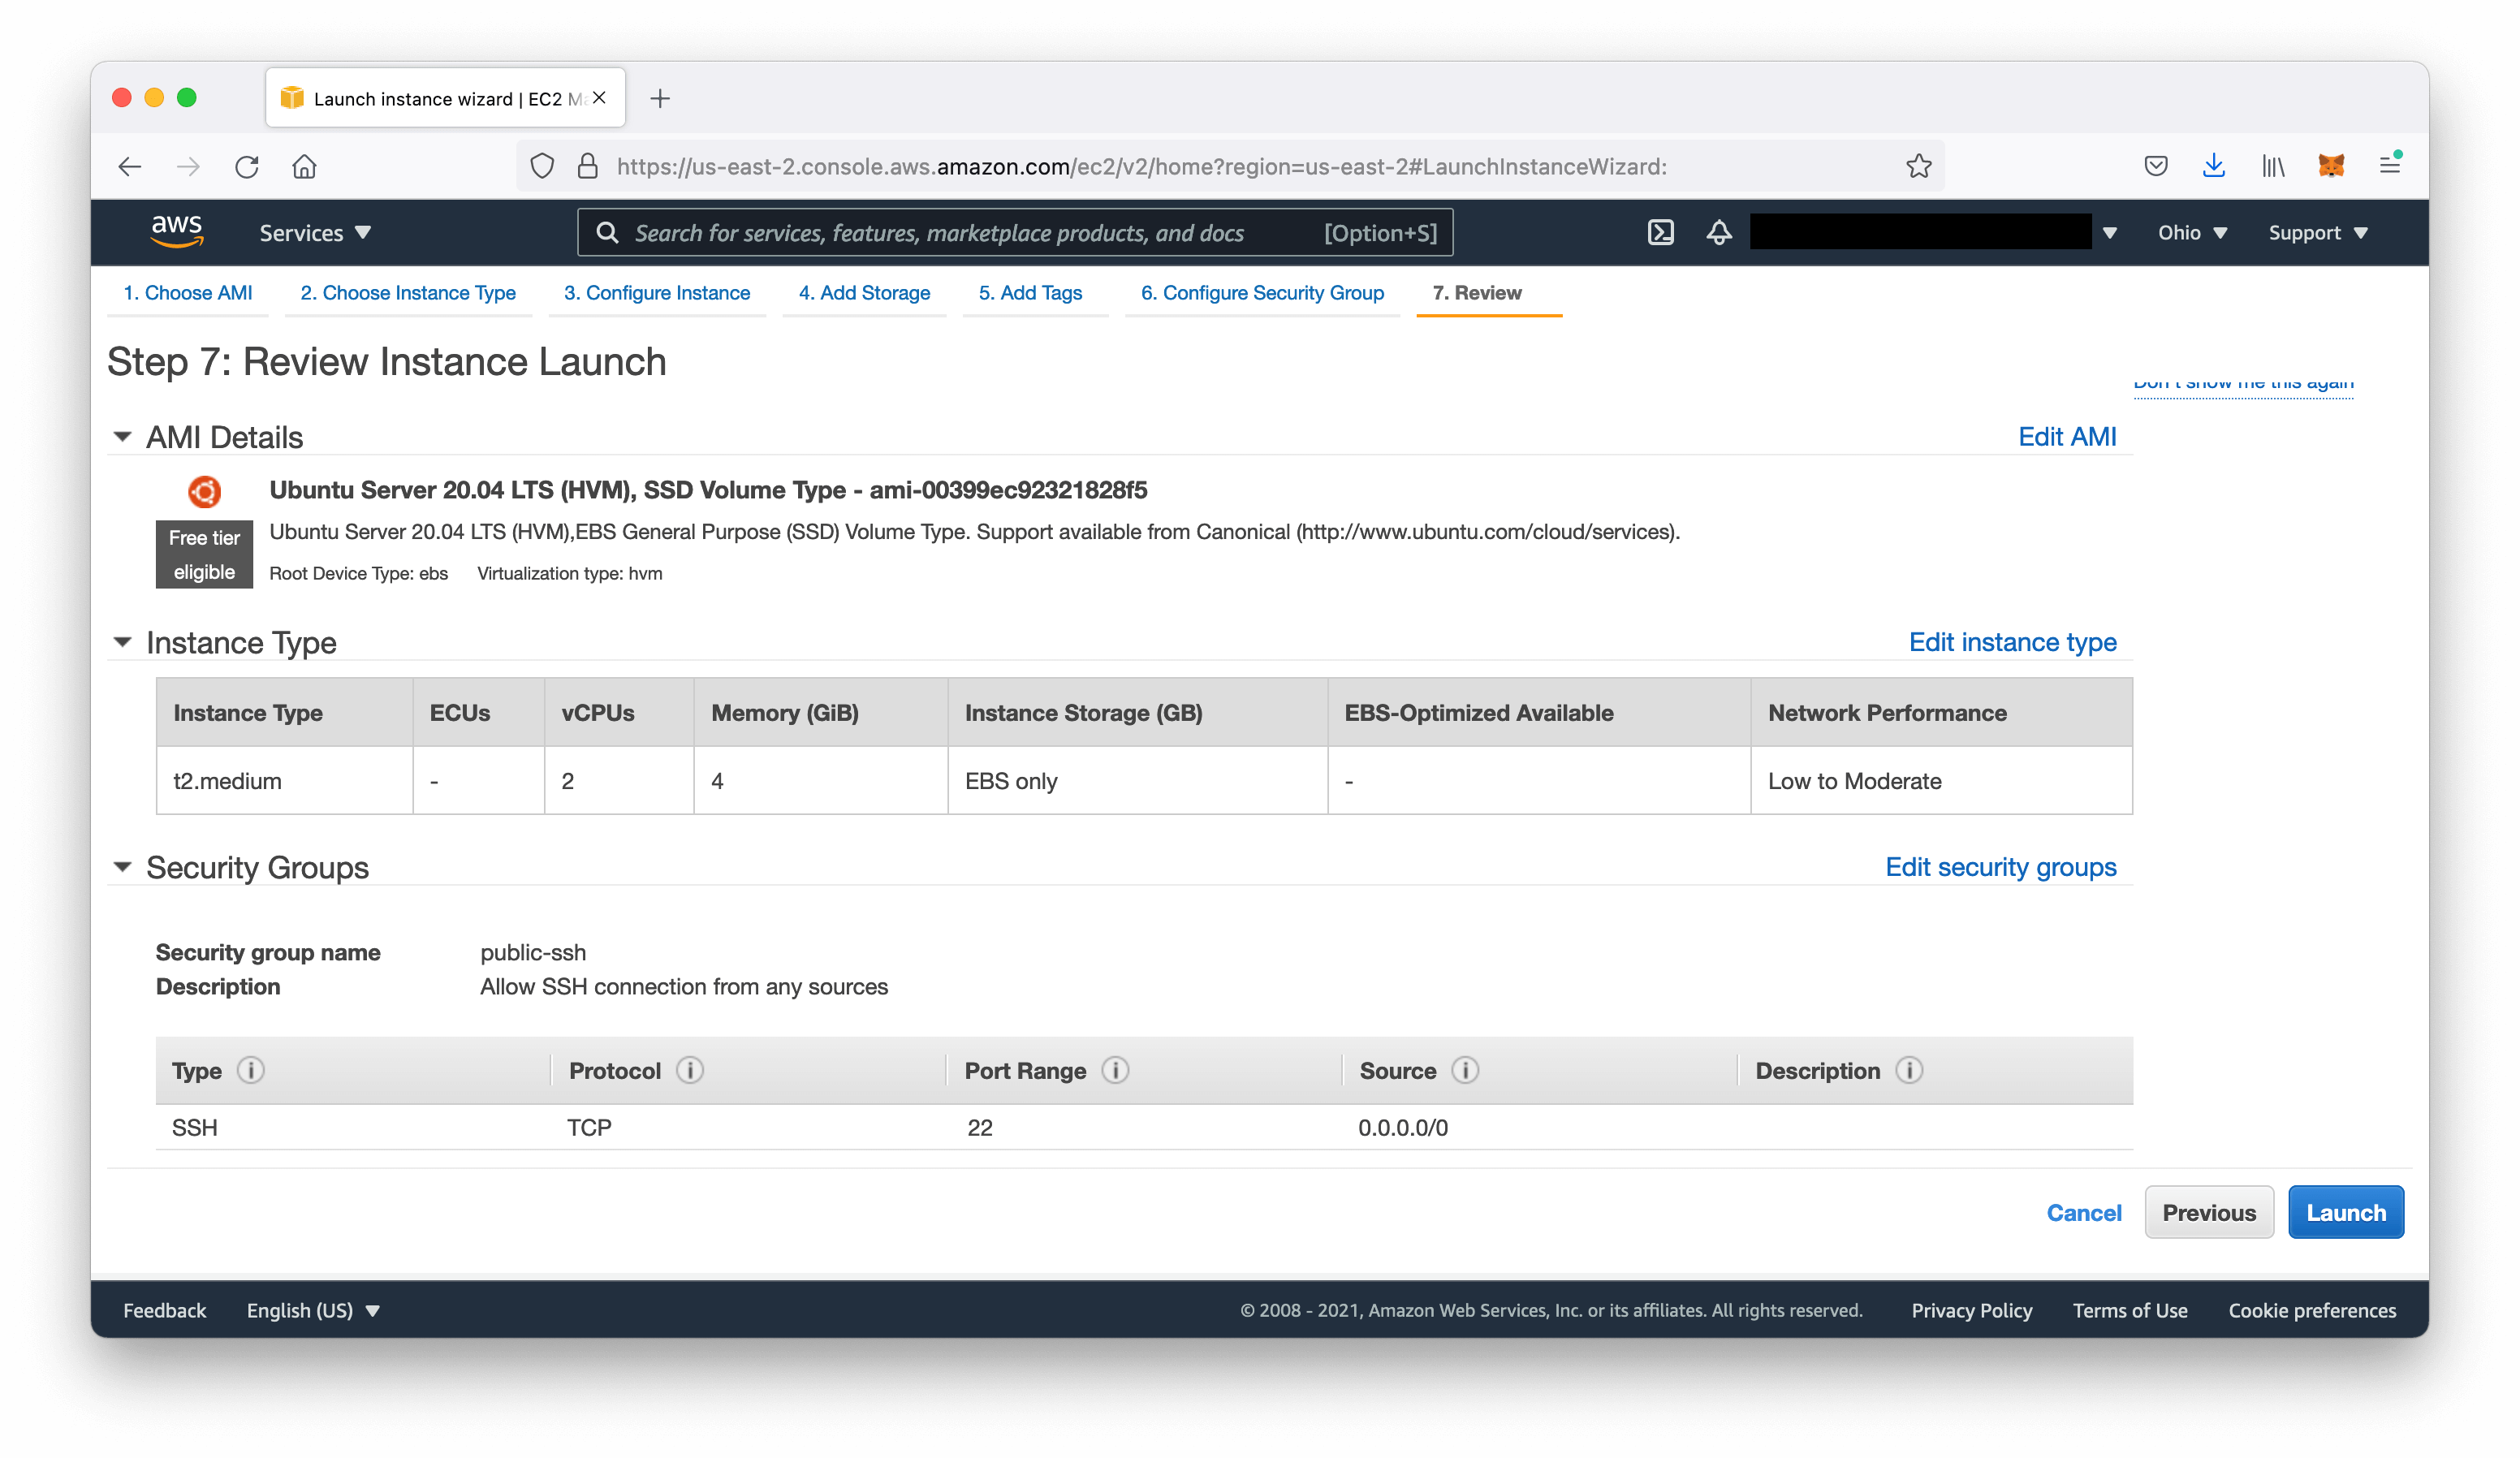
1. Launch an instance from an Amazon Machine Image (AMI) running Ubuntu (default 8GiB storage).

2. Launch a second instance in the same Availability Zone as the first instance and from the same Ubuntu AMI with a 3 TiB root volume.
Note: If you already have a Ubuntu instance, you don't need to launch a new Ubuntu instance. For Ubuntu, modify the root volume in order to extend its size to over 2 TiB.

3. Stop the instance with the 3 TiB root volume.

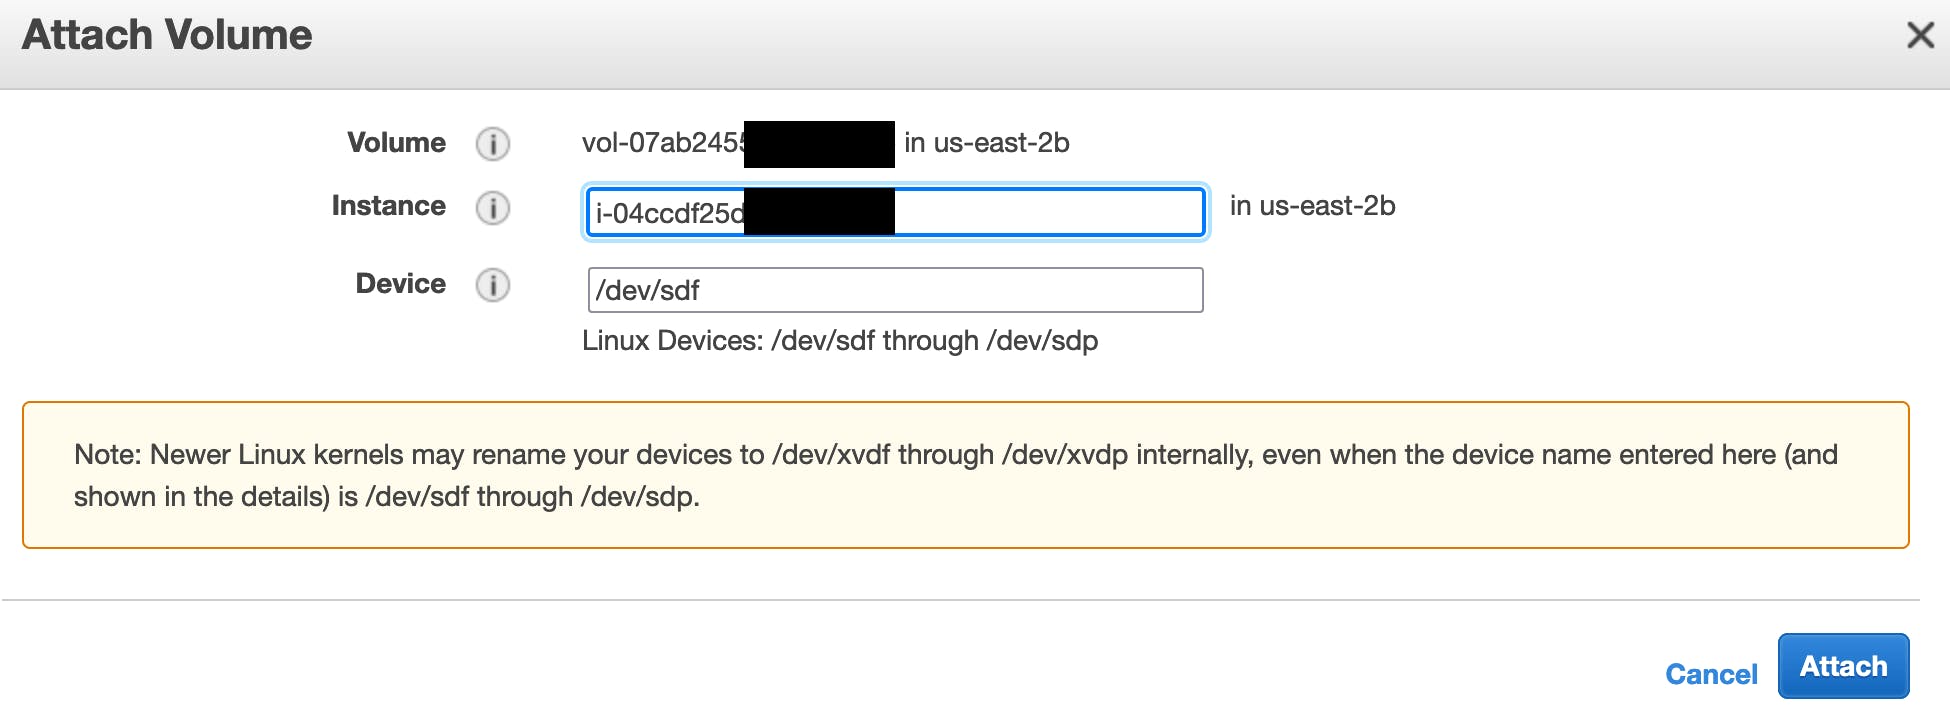
4. Detach the root volume (/dev/xvda or /dev/sda1) from the stopped instance. Then, attach it to the instance you created in step 2 as /dev/sdf.


5. Connect to the running instance (created in step 1) using SSH. Use the lsblk command to view the root partition of /dev/sdf. The root partition of /dev/sdf is only 2 TiB size, as shown in the following example:
$ lsblk
NAME    MAJ:MIN RM SIZE RO TYPE MOUNTPOINT
(snip)
xvdf    202:80    0   3T  0 disk
└─xvdf1 202:81    0   2T  0 part
(snip)
6. Use the gdisk tool to convert the partition table from MBR to GPT.
$ sudo gdisk /dev/xvdf
GPT fdisk (gdisk) version 1.0.5

Partition table scan:
  MBR: MBR only
  BSD: not present
  APM: not present
  GPT: not present

***************************************************************
Found invalid GPT and valid MBR; converting MBR to GPT format
in memory. THIS OPERATION IS POTENTIALLY DESTRUCTIVE! Exit by
typing 'q' if you don't want to convert your MBR partitions
to GPT format!
***************************************************************
7. Enter the following commands at the prompts to enter Expert mode and set the sector alignment value. Note: Make sure that you change the sector alignment value from the default 8 to 1. Using the 8 bytes alignment might cause issues when you create the GPT partition.
Command (? for help): x
Expert command (? for help): l
Enter the sector alignment value (1-65536, default = 2048): 1
Expert command (? for help): m
8. Enter the following commands at the prompts to create a GPT partition. Type enter at the Last sector prompt to use the default sector number 2047.
Command (? for help): n
Partition number (2-128, default 2): 128
First sector (34-6291455966, default = 4294967296) or {+-}size{KMGTP}: 34
Last sector (34-2047, default = 2047) or {+-}size{KMGTP}:
Current type is 'Linux filesystem'
Hex code or GUID (L to show codes, Enter = 8300): ef02
Changed type of partition to 'BIOS boot partition'
Note: In the preceding example, ef02 is the BIOS boot partition number.
9. Enter the following commands at the prompts to delete the root partition:
Command (? for help): d
Partition number (1-128): 1
10. Enter the following commands at the prompts to recreate the root partition to 3 TB. In the First sector, Last sector, and Hex code or GUID prompts, type enter to use the default settings.
Command (? for help): n
Partition number (1-128, default 1): 1
First sector (2048-6291455966, default = 2048) or {+-}size{KMGTP}:
Last sector (2048-6291455966, default = 6291455966) or {+-}size{KMGTP}:
Current type is 'Linux filesystem'
Hex code or GUID (L to show codes, Enter = 8300):
Changed type of partition to 'Linux filesystem'
11. Enter the following commands at the prompts to save the GPT partition table:
Command (? for help): w
Final checks complete. About to write GPT data. THIS WILL OVERWRITE EXISTING
PARTITIONS!!
Do you want to proceed? (Y/N): y
OK; writing new GUID partition table (GPT) to /dev/xvdf.
The operation has completed successfully.
Run the lsblk command to view the new volume information:
$ lsblk
NAME    MAJ:MIN RM SIZE RO TYPE MOUNTPOINT
xvdf    202:80   0   3T  0 disk
└─xvdf1 202:81   0   3T  0 part
12. Use the fsck tool to check that the file system of device /dev/xvdf1 is correct. For more information on the fsck tool, see fsck on the Ubuntu man website.
$ sudo e2fsck -f /dev/xvdf1
e2fsck 1.42.13 (17-May-2015)
Pass 1: Checking inodes, blocks, and sizes
Pass 2: Checking directory structure
Pass 3: Checking directory connectivity
Pass 4: Checking reference counts
Pass 5: Checking group summary information
cloudimg-rootfs: 57524/262144000 files (0.0% non-contiguous), 16648272/536870655 blocks
13. Run the resize command to resize the file system in order to extend it to 3TB. Note: It might take from 10 to 20 seconds to resize the file system.
$ sudo resize2fs /dev/xvdf1
resize2fs 1.42.13 (17-May-2015)
Resizing the filesystem on /dev/xvdf1 to 786431739 (4k) blocks.
The filesystem on /dev/xvdf1 is now 786431739 (4k) blocks long.
14. Install Grub on the device /dev/xvdf1 and configure it using the following commands for Ubuntu 20.04:
sudo mount /dev/xvdf1 /mnt
sudo mount --bind /proc /mnt/proc
sudo mount --bind /sys /mnt/sys
sudo mount --bind /dev /mnt/dev
sudo chroot /mnt /bin/bash
grub-install /dev/xvdf
grub-mkdevicemap
echo "GRUB_DISABLE_OS_PROBER=true" > /etc/default/grub
echo "GRUB_FORCE_PARTUUID=" > /etc/default/grub.d/40-force-partuuid.cfg
update-grub
exit
sudo umount -l /mnt/dev
sudo umount -l /mnt/sys
sudo umount -l /mnt/proc
sudo umount -l /mnt
15. Detach the volume /dev/xvdf from the running instance and attach the volume /dev/xvdf back to its original instance (stopped instance) as /dev/xvda or /dev/sda1.
16. Start the original instance using SSH and run the lsblk command to verify that the root volume on your original instance now has 3 TiB of space.

